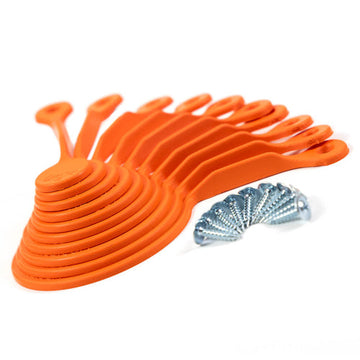
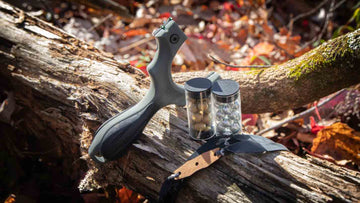
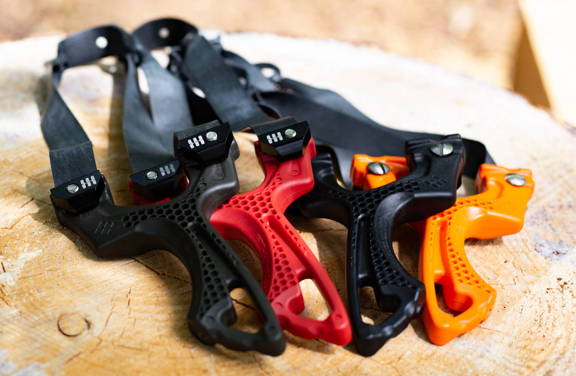
Absolutely. It comes with a lanyard, looped tube bandsets, and a pack of sample steel ammo. Everything you need to shoot is included.
The Torque™
Owner's Manual
The Torque™ slingshot is a joint project between Mark Seljan and SimpleShot. The result is a perfect EDC slingshot that you'll want with you all the time.
This owner's manual will go over setup of your slingshot and knowledge to make sure you safely and correctly use your Torque slingshot.
Get to know your Torque™ Slingshot
This owners manual will go over setup of your Torque™ Slingshot, and show you how to safely and properly set up and use your slingshot.
Keep scrolling for the video owners manual that covers setup demonstration!

The Shooter Side
The Torque can literally be held in any direction with either hand. The Shooter side is whichever side is facing YOU when you're shooting.

The Target Side
The side of the Torque that's facing the target when you shoot whether held left or right handed, right side up or down.

Switch Tubes in seconds
Originally a dedicated tube shooter, the Torque is still king of the hill for easy tube changes. Just stretch and pop the tube through the slot.

OTT (Over The Top)
The Torque is a dedicated OTT (Over The Top) shooter. The wide fork-tips accommodate large band-sets.

The Lanyard
A simple piece of paracord that attaches to the handle of your Torque frame and secures the slingshot to your frame-holding hand.

Do not shoot stones or rocks from any slingshot.
Rocks - no matter how round they look – shoot erratically and shooting them may damage your slingshot and bands.
Due to the uncontrollable nature of shooting non-spherical projectiles, shooting a rock from a SimpleShot slingshot voids any / all warranties.
TORQUE™ SLINGSHOT SETUP INSTRUCTIONS
Step one: Install the Lanyard
It is critical to always have the lanyard securely wrapped around the wrist when shooting. Serious injury can result from improper use, so make sure you ALWAYS install and use the lanyard when shooting your slingshot!

STEP 1. Thread one end of the lanyard through the hole in the end of the Torque frame

STEP 2. Tie a simple overhand knot with BOTH tag ends of the lanyard.
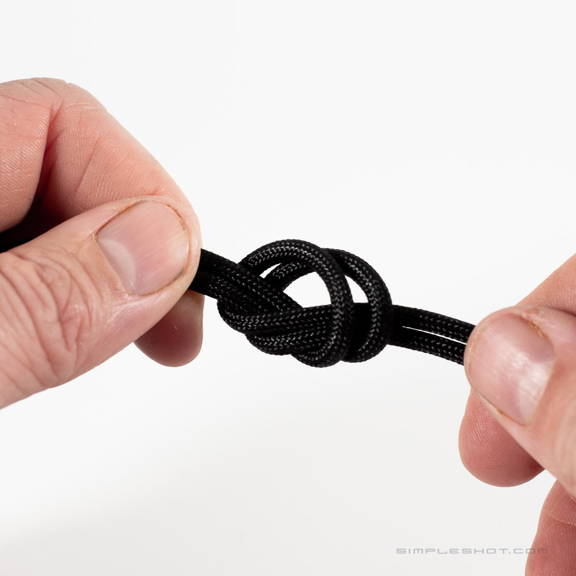
STEP 3. Pull tightly to secure the knot (adjust the position of the knot to vary size of the lanyard.
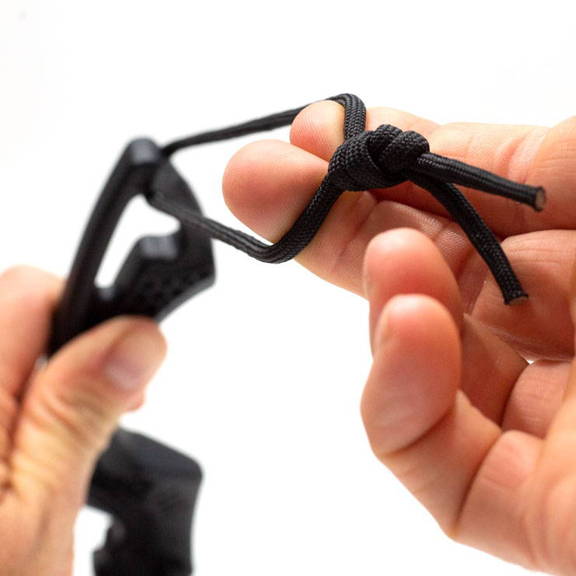
STEP 4. Check the lanyard to make sure it is secure.
ALWAYS wear the lanyard securely when shooting! The lanyard should firmly but not tight. It should be secure enough to prevent the frame from ever slipping from your hand.
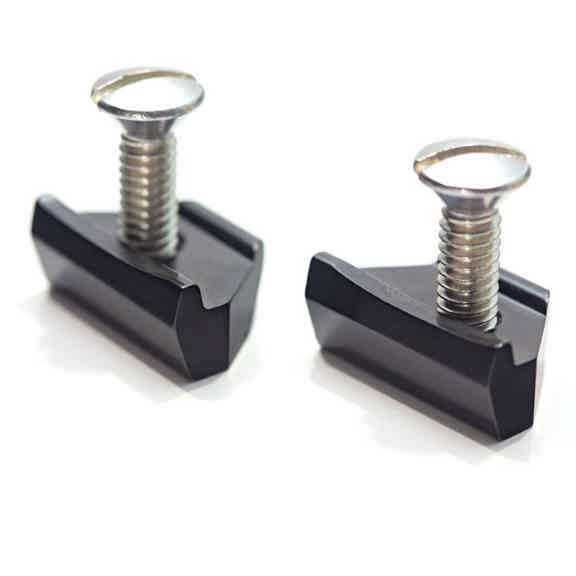
Get to know FlipClipsX™ for your Torque™
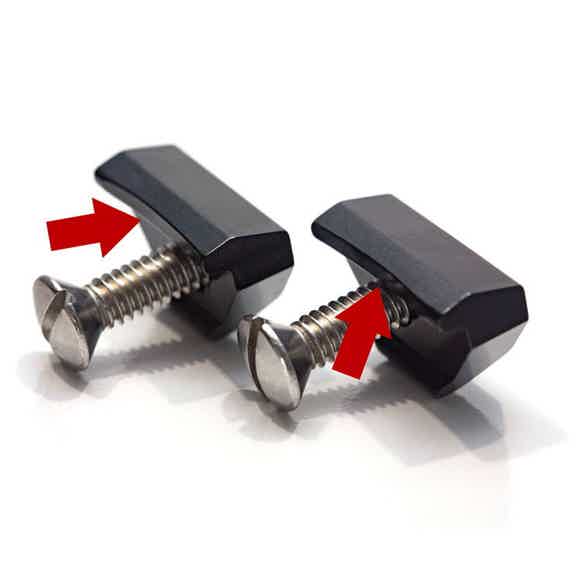
Every FlipClip has a "tooth."
This upper side of the clip has a "tooth" perfectly machined to fit your Torque.
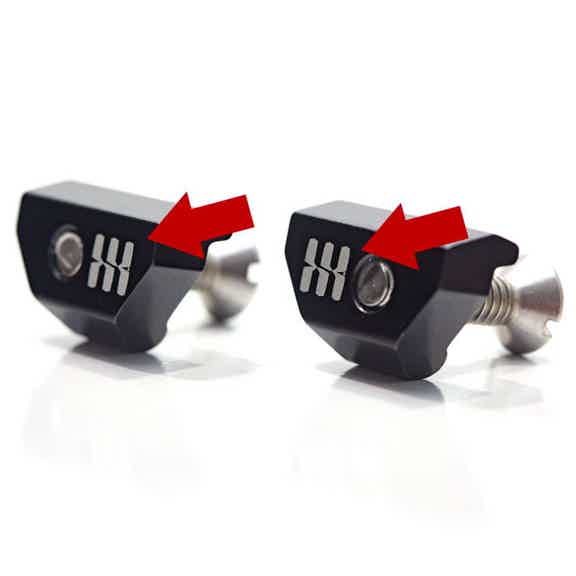
Left and Right Components.
The logos engraved on each clip will show you which is which.
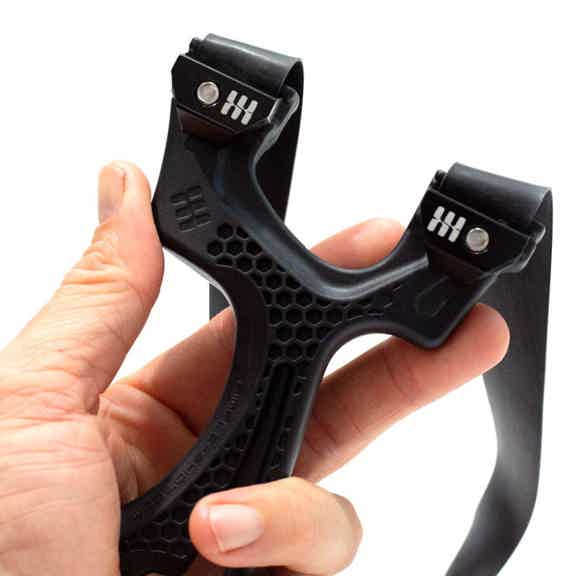
Flip Clip Orientation.
The logos should be on the INSIDE of the fork with the bands over the top.
Step two: Installing Bands (OTT) On Your Torque™ Slingshot
2.1: Installing Tubes OTT

Step 1.
Stretch the tube a bit to narrow it down to fit through the slot.

Step 2.
Pull the loop through the slot in the Torque™ fork-tip. It's that simple.

Step 3.
Ensure the loop is seated in the center of the fork-tip in the tube groove.

Step 4.
Never pull the tube back with the tube around either side of the fork-tip.
ATTENTION: Step 4, Pull the tube back with the tube around either side of the fork-tip could unhook your tube, and potentially cause serious injury.
2.2: Installing Bands OTT
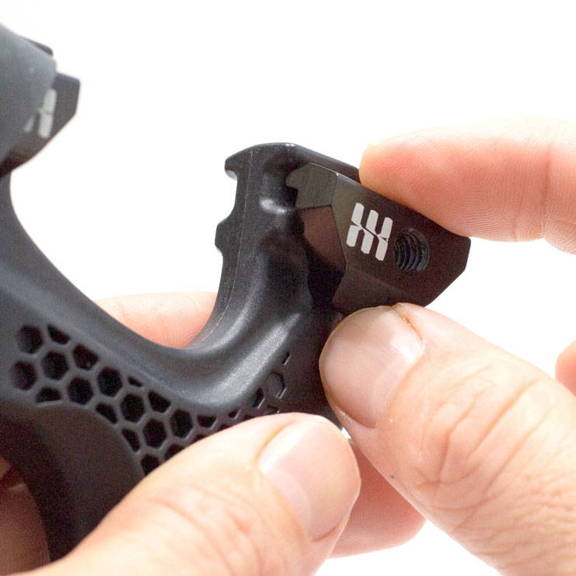
Step 1.
Place FlipClip with logos facing IN and "tooth" edge in the frame groove.
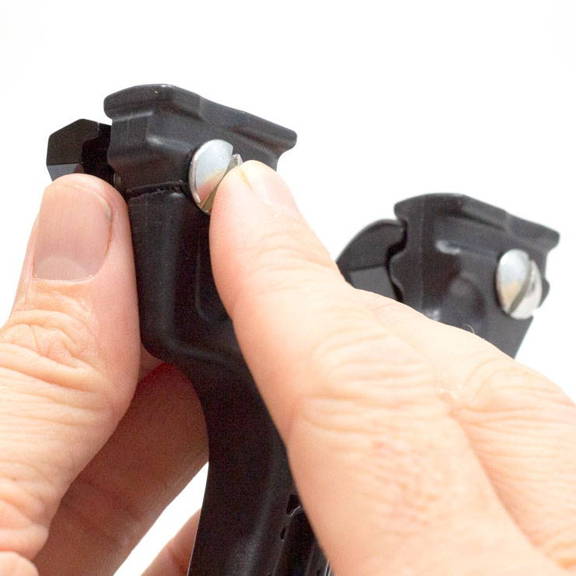
Step 2.
Thread the fastener JUST until it catches.

Step 3.
Place the band into the groove of the frame and under the "tooth" of the FlipClip.

Step 4.
Tighten down the fastener. The FlipClip is very strong and will hold when just hand tight.
ATTENTION: In step 4, Do NOT over-tighten. Be careful to not damage the band material as tighten your FlipClips.
Which Grip should I use with my Torque™?
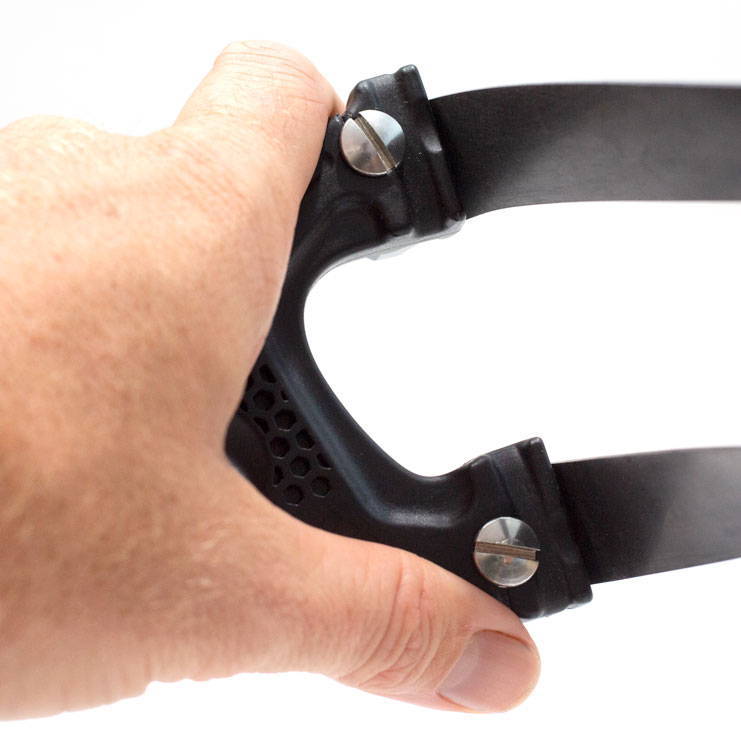
"Right-Side Up"
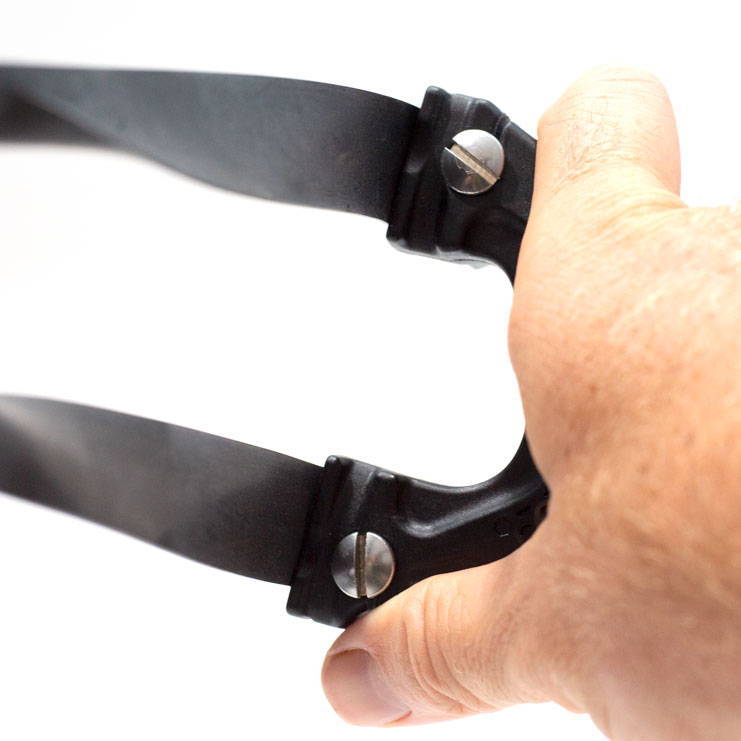
"Upside-Down"
Important Torque™ Instructions
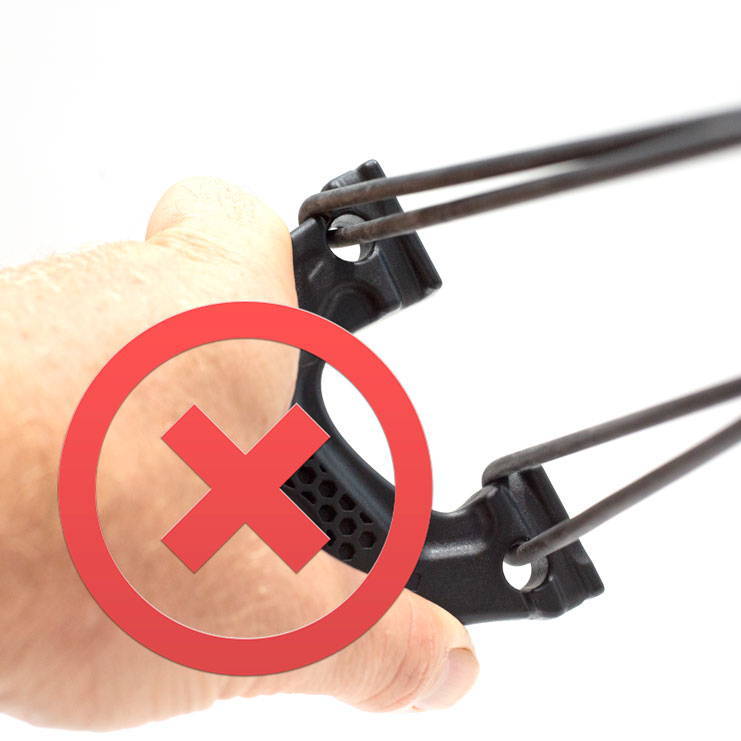
Never pull tubes AROUND the frame.

Check your bands before every use.
And now, watch the video to see the Torque™ in action!
Your Torque comes with one set of 2040M Looped Tubes.
The original FlipClip is made from plastic and uses a self tapping screw. The FlipClipX is made from anodized aluminum and sports a threaded machine screw.

