

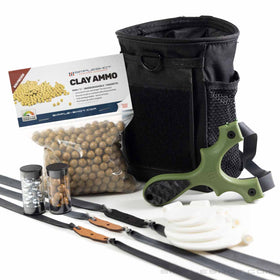
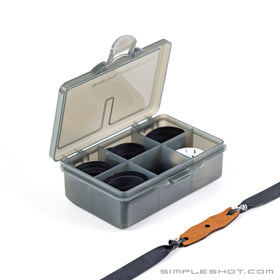
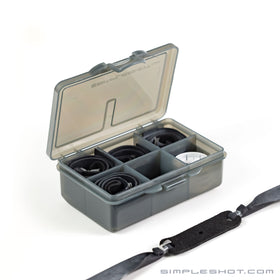

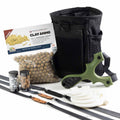

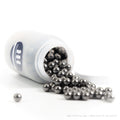


Absolutely. It comes with a lanyard, two powerful bandsets, and a sample of both clay and steel ammo for you to experience both! Everything you need to shoot comes standard!
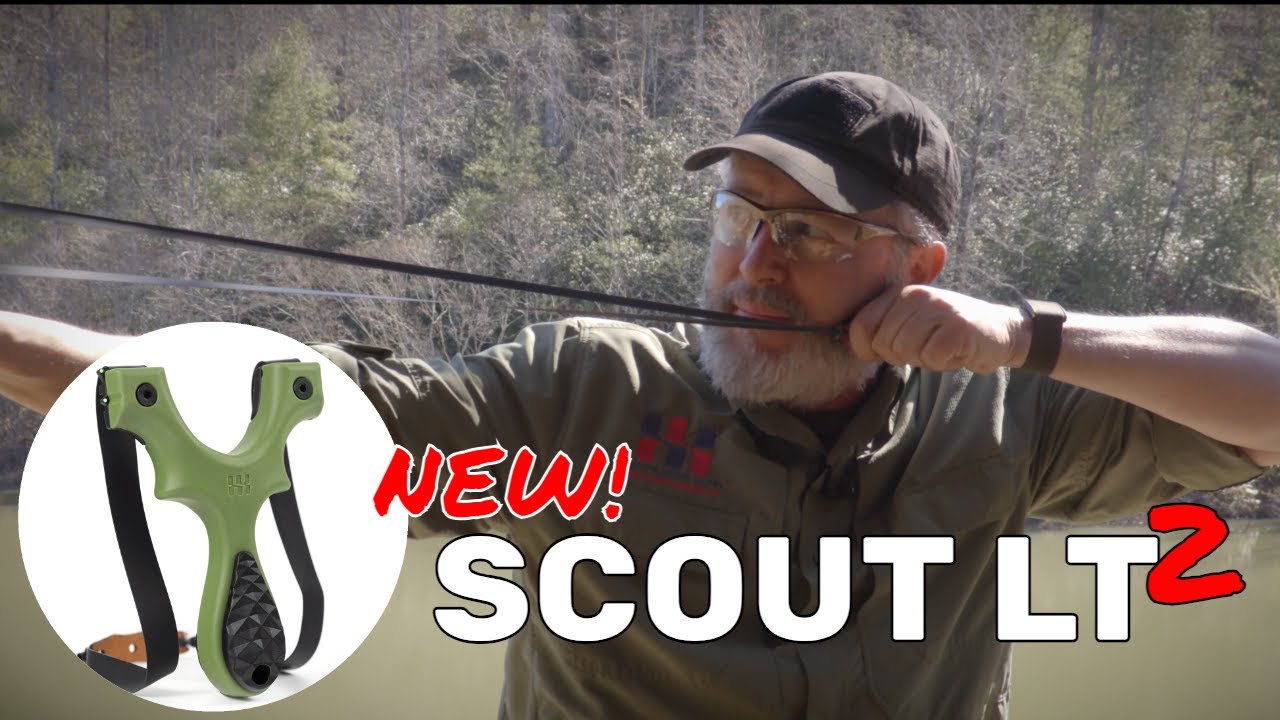
The Scout LT2™
Owners Manual
The Scout LT was our most versatile slingshot. Now, with version 2, it's even better than ever.
This manual will go over setup of your slingshot and give you the knowledge to make sure you safely and correctly use your Scout LT. We'll go over setup of the frame and band installation. We've also got a video owners manual that covers all this so you can watch it happen!
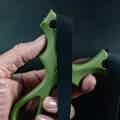
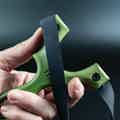
Get to know your Scout LT2™ Slingshot
This owners manual will go over setup of your Scout LT™ slingshot, and show you how to safely and properly set up and use your slingshot. Keep scrolling for the video owners manual that covers setup demonstration!
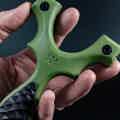
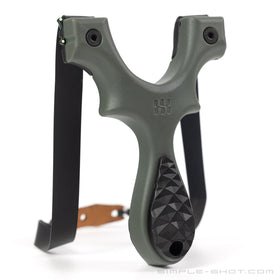
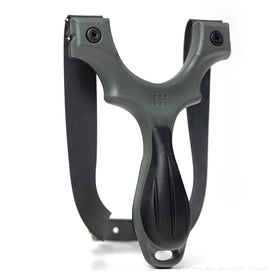
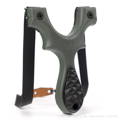
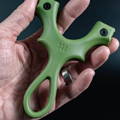
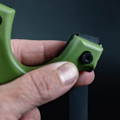
The Shooter Side
This is the side of the Scout LT that will face you as you shoot. The SimpleShot logo is on the shooter side.
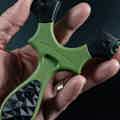
The Target Side
This is the side of the Scout LT that will face the target as you shoot. The target side reads "SIMPLESHOT."
OTT (Over The Top)
Band orientation where you shoot the ammo over the top of the forks. (Bands are attached to the TOP of the frame.)
TTF (Through The Forks)
Band orientation where you shoot the ammo through the forks. (Bands are attached to the SIDE of the frame.)
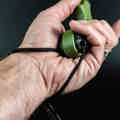
The Lanyard
A simple piece of paracord that attaches to the handle of your Scout LT frame and secures the slingshot to your frame-holding hand.
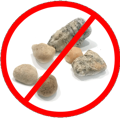
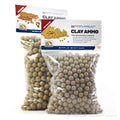
Do not shoot stones or rocks from any slingshot.
Rocks - no matter how round they look – shoot erratically and shooting them may damage your slingshot and bands.
Due to the uncontrollable nature of shooting non-spherical projectiles, shooting a rock from a SimpleShot slingshot voids any / all warranties.
SCOUT LT™ SLINGSHOT SETUP INSTRUCTIONS
Your Scout LT will arrive with the scales and lanyard installed, but if you want to shoot without the scales, or want to swap colors, you'll need to know how to remove and install them.
Install your Scout LT2™ Scales
Your Scout LT is designed to be slim and awesome even without scales.
To add the scales follow these simple steps.
Place the scales on the frame. They are held to the frame with a single hex fastener.
Install the screw on the back (target side).
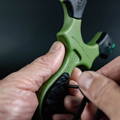
Use the included key to fasten the scales to each other, securing them to the frame.
Make sure it's seated centered in the hole.
Install the Lanyard
It is critical to always have the lanyard securely wrapped around the wrist when shooting. Serious injury can result from improper use, so make sure you ALWAYS install and use the lanyard when shooting your slingshot!
The lanyard should firmly but not tight. It should be secure enough to prevent the frame from ever slipping from your hand.
ALWAYS wear the lanyard securely when shooting!
Thread one end of the lanyard through the hole in the end of the slingshot frame.
Bring both ends together evenly to form a loop in the lanyard material.

Then, tie a simple overhand knot with BOTH tag ends of the lanyard. This simple knot is plenty strong.
Adjust knot placement to fit your wrist size BEFORE tightening the knot.

Adjust the position of the knot to vary size of the lanyard to fit your wrist. Then pull tightly on the two ends to secure the knot.
Make sure the knot is secure before using the lanyard.
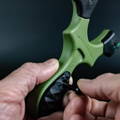
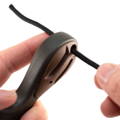
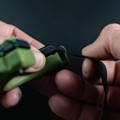
Install your bandset
First, decide whether you will be installing your bands OTT or TTF. Don't know which to use? Start with OTT.
Step 1.
Loosen the fasteners on your clips.
The FIRST time, this will require some effort to free the threads.
Do not remove the fastener, loosen until the head is clear of the frame.
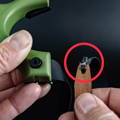
Step 2.
Press the fastener firmly to pop the clip out of the frame. The first time you install bands, this will require a strong effort.
Open the clip enough to insert the band.
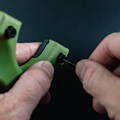
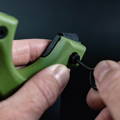
Step 3A.
Place the band into the opening between the clip and the frame.
The band is securely placed when it bottoms out inside the clip. Be sure
Step 3B.
Make sure the "ear" – the tied in end of the band is on the same side as the fastener, for OTT configuration.
For TTF, the ear will be on the outside of the frame.
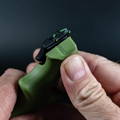
Step 4.
Get that hex tool ready and press the clip back onto the band to grab it in place.
The clip fits tight, so it will help you keep the clip in place as you prepare for the final step of tightening the fastener!
Step 5.
Tighten the fastener "hand tight." When you feel the fastener getting tight, just give enough torque to make sure the band is secure.
Test the connection away from your face to ensure proper tension.
In step 5, No need to tighten very hard. Be careful to not damage the band material as tighten your integrated clips.
And now, watch the video to see it in action!
Frequently Asked Questions
Does the Scout LT come with everything I need to shoot?