

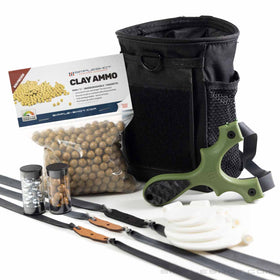
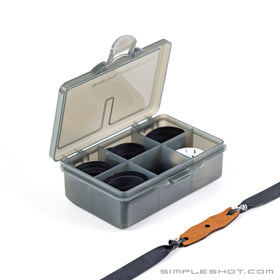
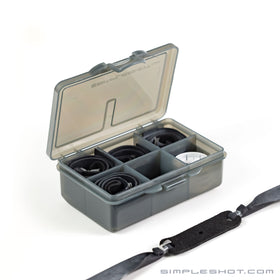

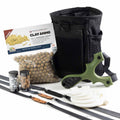


Absolutely. It comes with a lanyard, two powerful bandsets, and integrated clips to attach them to the frame. Everything you need to shoot is included. You supply the ammo.

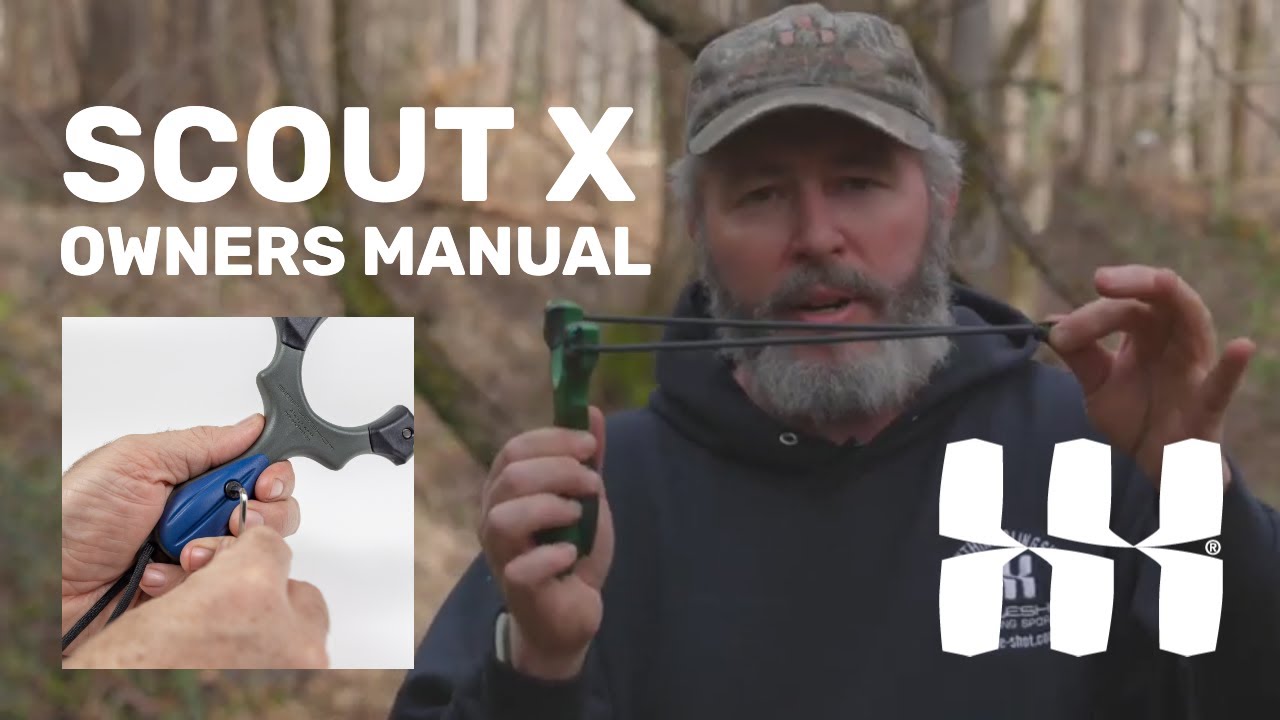
The Scout X™
Owners Manual
The Scout X takes it to a whole new level.
This manual is one of our simplest because it's pretty hard to go wrong with the Scout X slingshot! Designed for everyone, the Scout X does it all and does it more simply than ever.
Get to know your ScoutX™ Slingshot
This owners manual will go over setup of your Scout X™ slingshot, and show you how to safely and properly set up and use your slingshot. Keep scrolling for the video owners manual that covers setup demonstration!
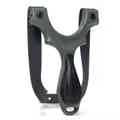
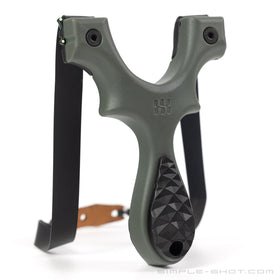
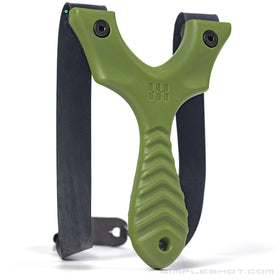
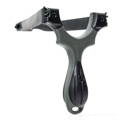
The Shooter Side
This is the side of the Scout X that will face you as you shoot.
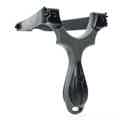
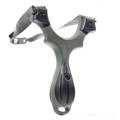
The Target Side
This is the side of the Scout X that will face the target as you shoot.
Integrated Clips for Scout X
Integrated Clips hold the bandset in OTT or TTF configuration.
OTT (Over The Top)
Band orientation where you shoot the ammo over the top of the forks. (Integrated Clips hold the band to the TOP of the frame.)
TTF (Through The Forks)
Band orientation where you shoot the ammo through the forks. (Integrated Clips hold the band to the SIDE of the frame.)
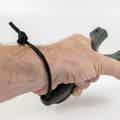
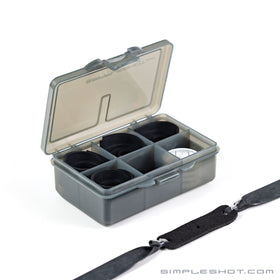
The Lanyard
A simple piece of paracord that attaches to the handle of your Scout X frame and secures the slingshot to your frame-holding hand.
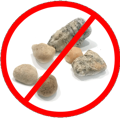
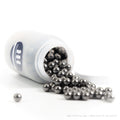
Do not shoot stones or rocks from any slingshot.
Rocks - no matter how round they look – shoot erratically and shooting them may damage your slingshot and bands.
Due to the uncontrollable nature of shooting non-spherical projectiles, shooting a rock from a SimpleShot slingshot voids any / all warranties.
SCOUT X SLINGSHOT SETUP INSTRUCTIONS
Install Your Bands With Integrated Clips
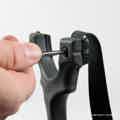
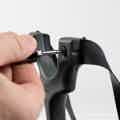
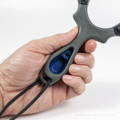
Step 1.
Losen Integrated Clips with 3mm Allen Wrench until there's enough space for a band to fit in.
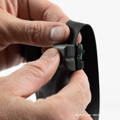
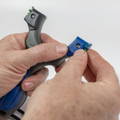
Step 2.
Place the band into the groove of the frame and under the "tooth" of the Integrated Clip.

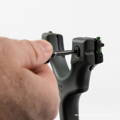
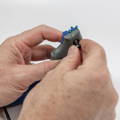
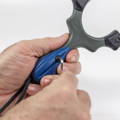
Step 3.
Tighten the fastener until hand tight. (Shown OTT tightened with 3mm Allen Wrench).

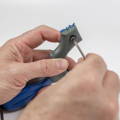
Step 4.
Pull up on the band to check that the bands are secure before moving on to the other side.
'Over The Top' & 'Through The Forks' Configurations
Decide whether you will be installing your bands OTT or TTF. Don't know which to use? Try both, starting with OTT.
OTT
TTF
In step 3, No need to tighten very hard. Be careful to not damage the band material as tighten your FlipClips.
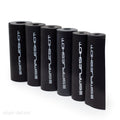
CUSTOMIZING YOUR CLIPS AND SCALES
Customize your Scout X with a variety of clip and scale color combinations.
Install Custom Integrated Clips
Step 1.
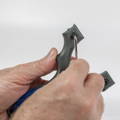
Remove the Integrated Clips with 3mm Allen Wrench.
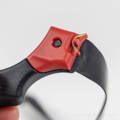
Step 2.
Place the new clip on the fork and into the groove of the frame.
Step 3.
Tighten the 3mm fastener into the clip, until hand tight.
Step 4.
Finish tightening the clip with the 3mm Allen Wrench.
Install Custom Grip Scales
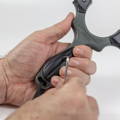
Step 1.
Loosen the grip fastener with 3mm Allen Wrench, and remove.
Step 2.
Place the new scales into the handle grove.

Step 3.
Tighten the fastener into the scales until hand tight.
Step 4.
Finish tightening the scales with the 3mm Allen Wrench.
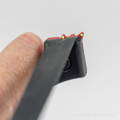
Scout X Fiber Optic Sights
Scout X Band Installation Instructions

Frequently Asked Questions
Does the Scout X come with everything I need to shoot?