


Ocularis™
Owner's Manual
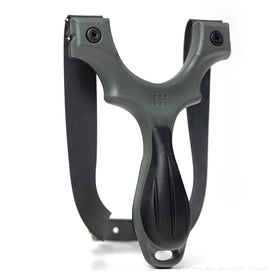
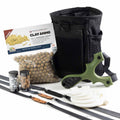
This manual covers installation and banding with the Ocularis™ Band Attachment System.
The Hammer and Axiom slingshots are shown as examples, but it works the same for any Ocularis™ slingshot.
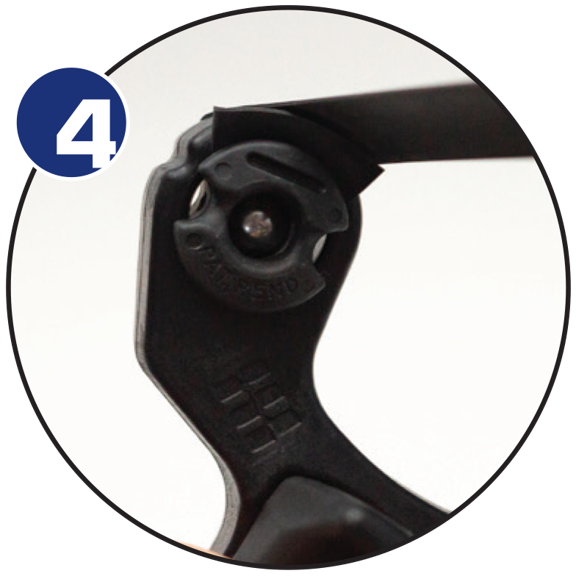
The Four Rules of Ocularis™
FLATBANDS
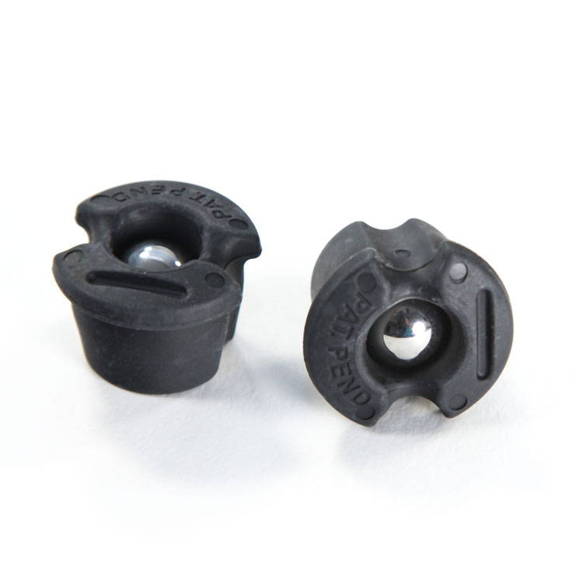
Plugs on shooter side. Bands pull around the frame
TUBES
Plugs on target side. Bands pull through the frame.
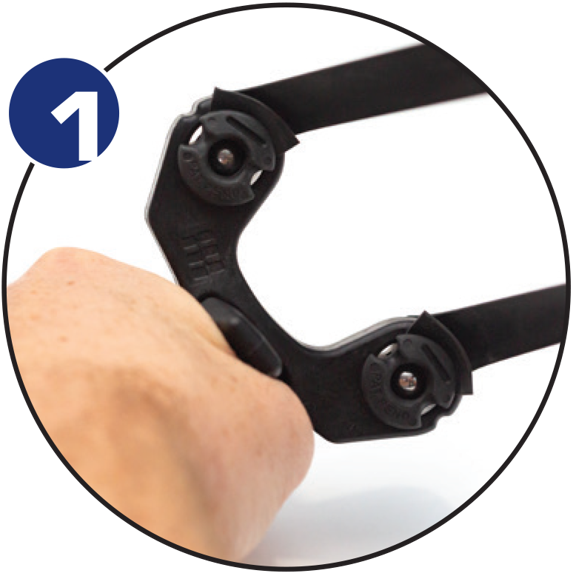
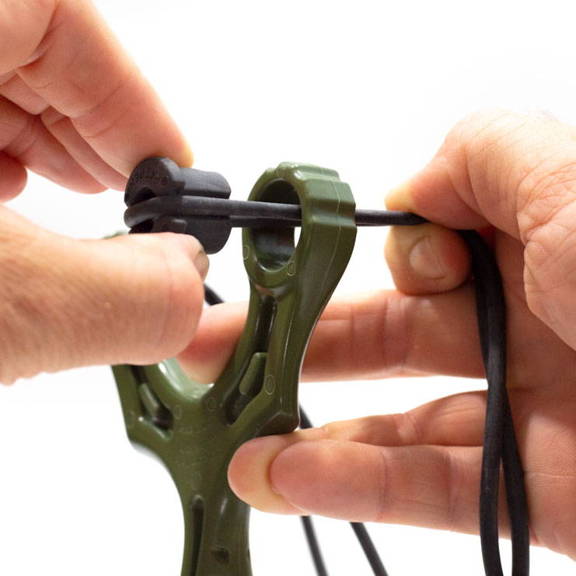
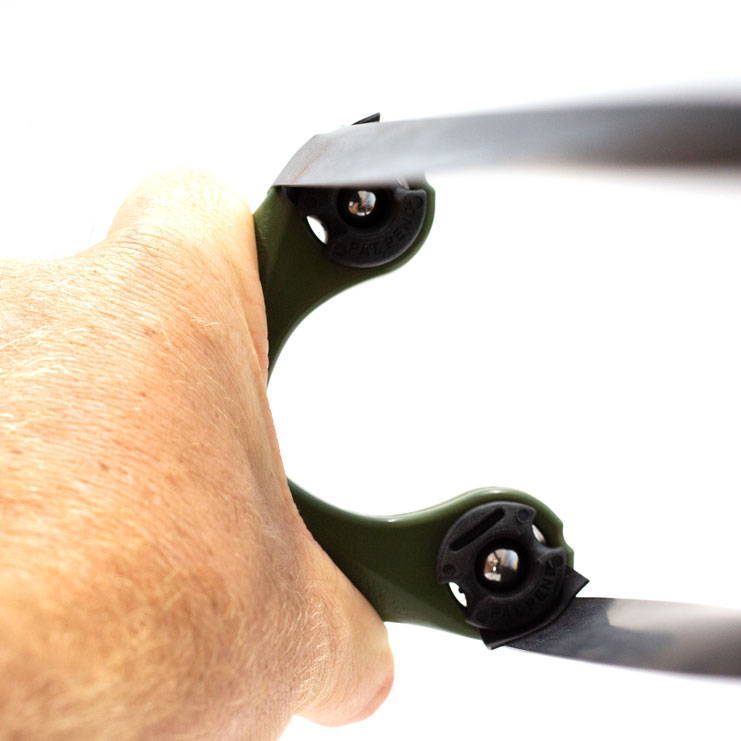
Installing Flat Bands With Ocularis™
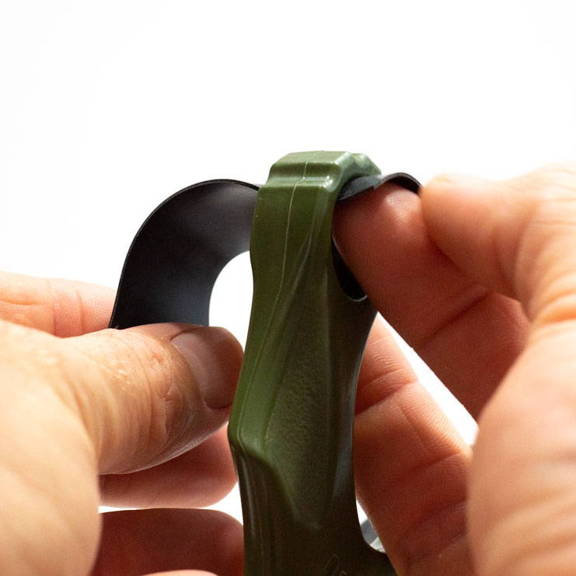
Step 1.
Place bandset into the Ocularis™ frame. Leave 1/2 inch of band overhang.
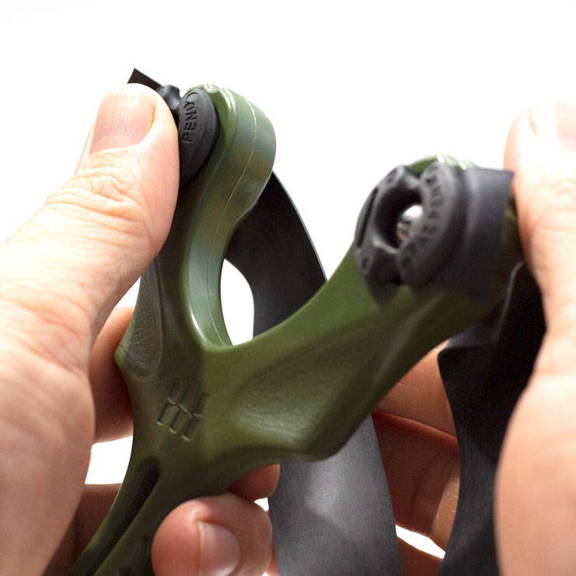
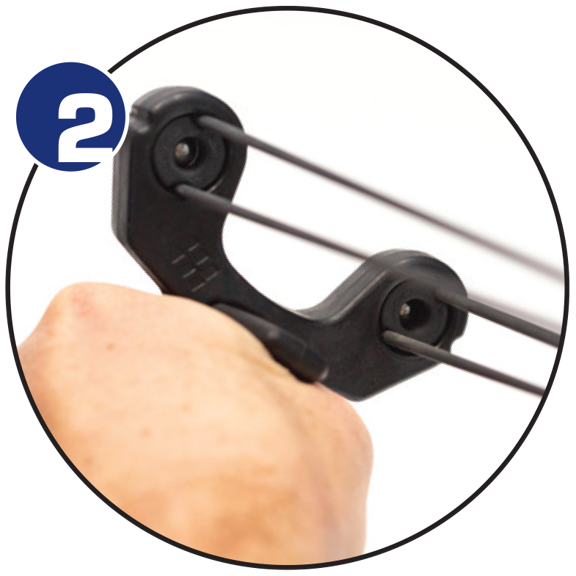
Step 2 Option A
Install bearing securely into plug, then press the plug into the frame.
Step 2 Option B
Place the plug into the frame without the bearing installed, then install bearing.

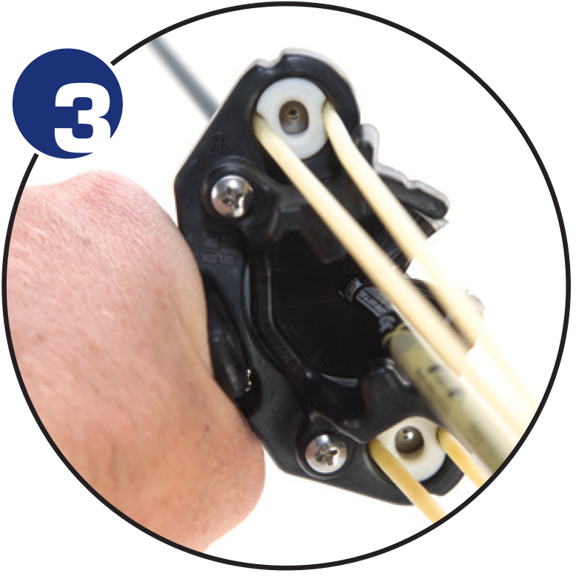
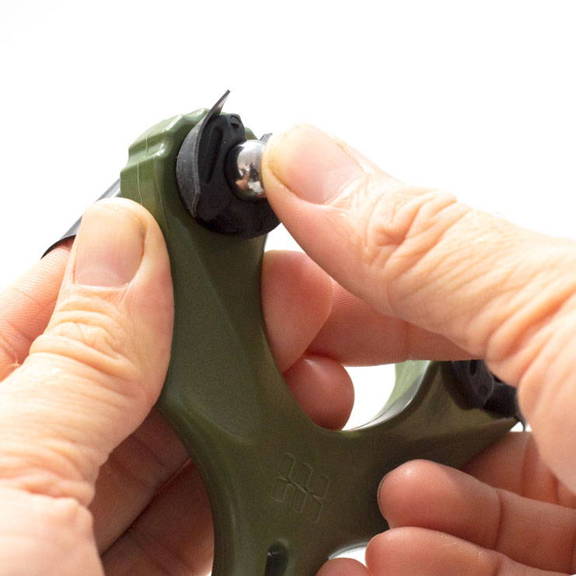
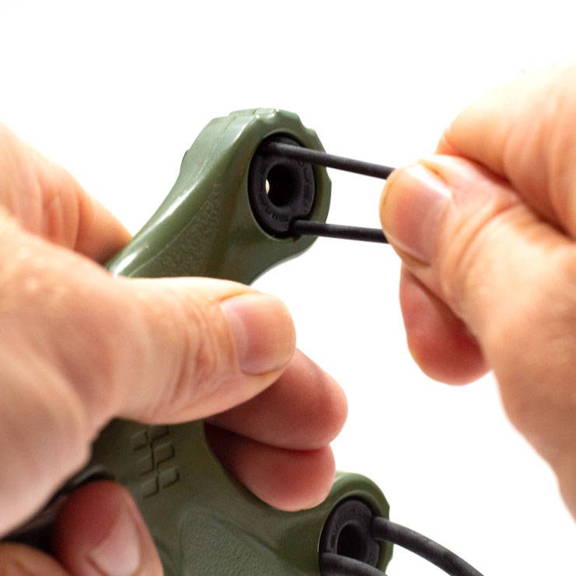
Step 3
Pull bandset while pressing plug into place to fully seat the plug.
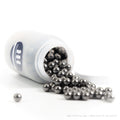
NOTE: Ball bearings may be inserted prior to or after band installation. Rubbing alcohol or saliva may be used to lubricate the bearing for easier insertion.
Installing Tubes With Ocularis™
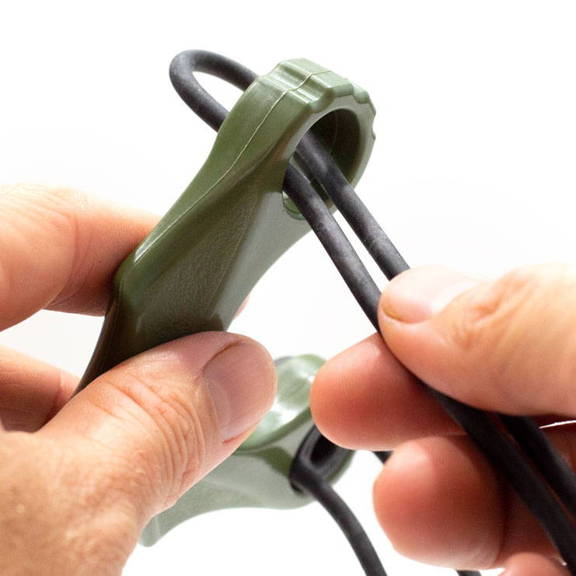
Step 1.
Place looped tube through the frame from the SHOOTER side. The loop should be on the TARGET side.
Step 2.
Install bearing securely into plug, then position the loop around the plug with the tubes in the grooves.
Step 3.
Firmly press the plug into the Ocularis frame, pulling the tubes from the shooter side to seat the plug.
Important With Ocularis™ Instructions!
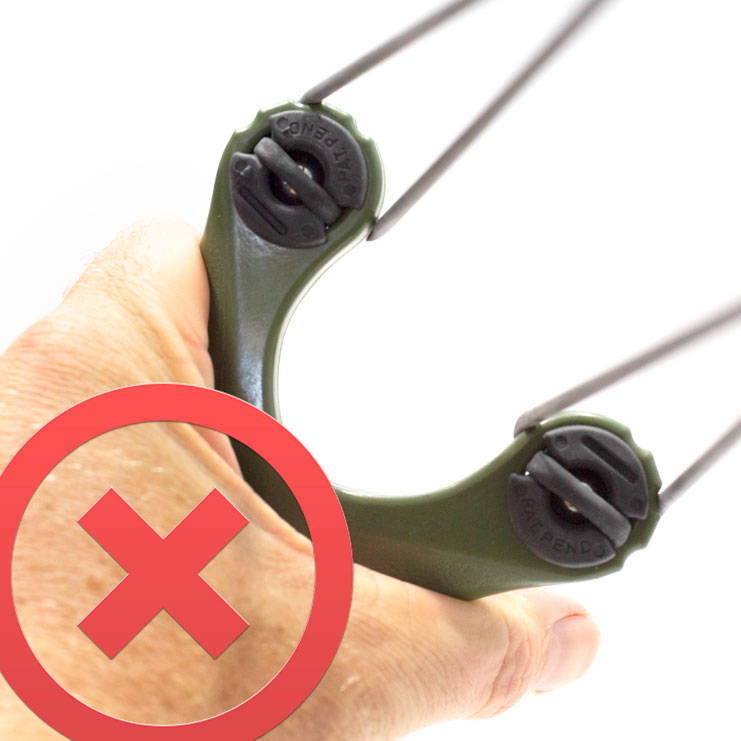
Never pull tubes AROUND the frame.
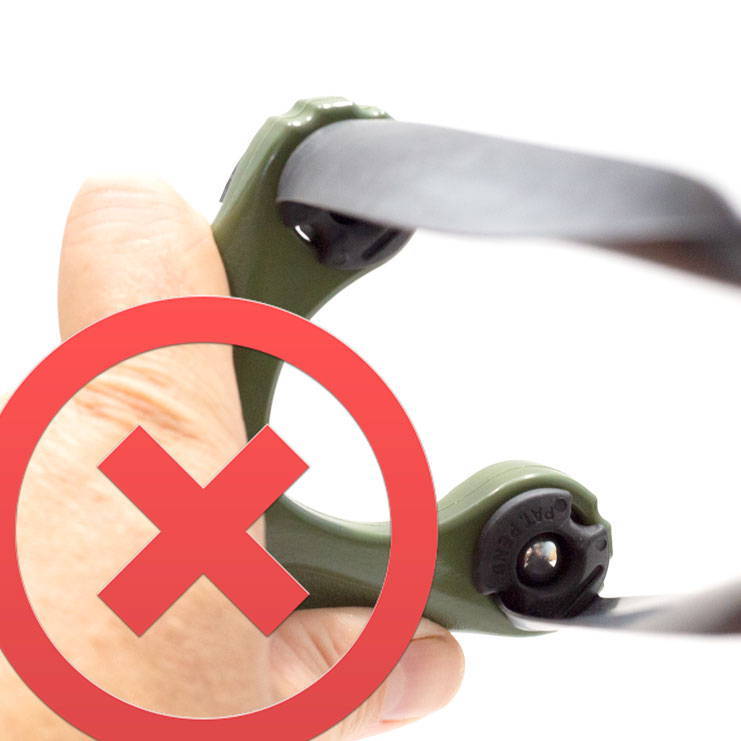
Never pull flatbands THROUGH the frame.
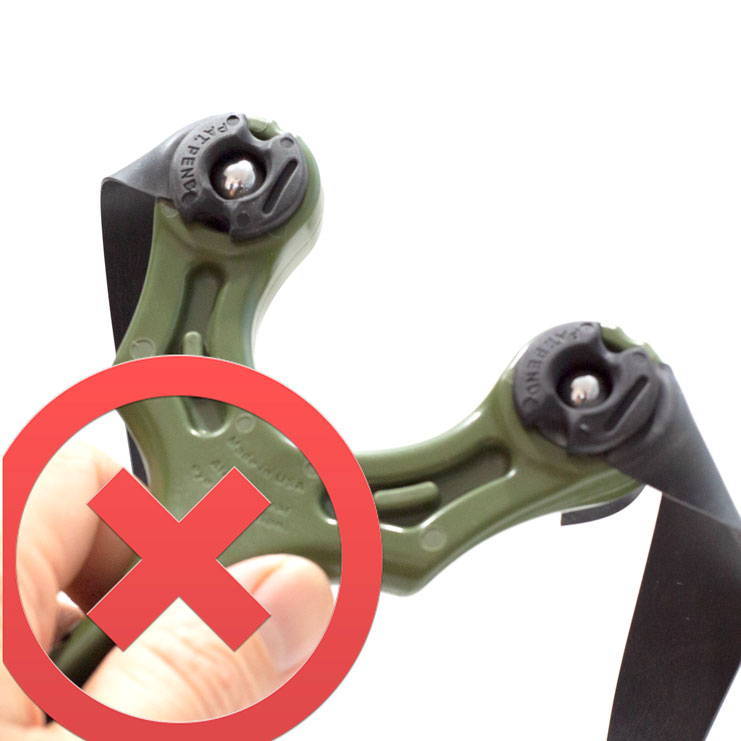
Plugs should not be on the target side with flatbands.
Check your bands before every use.