


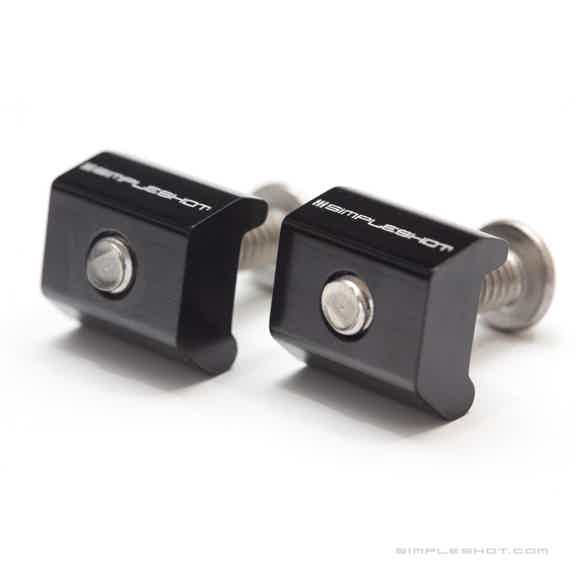
FlipClipsX™
Owner's Manual for Scout LT™
This manual covers installation and banding with FlipClip X™ for Scout LT.
Get to know FlipClipsX™ for your Scout LT™
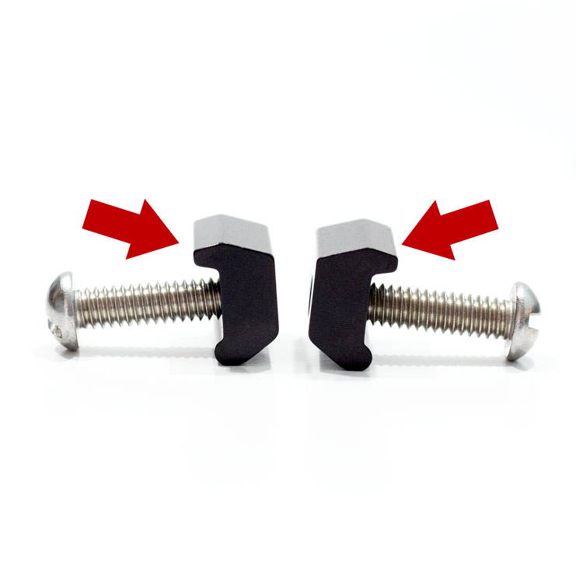
Every FlipClip has a "tooth."
This upper side of the clip is slightly larger and less round. Only use this side to grip the band.
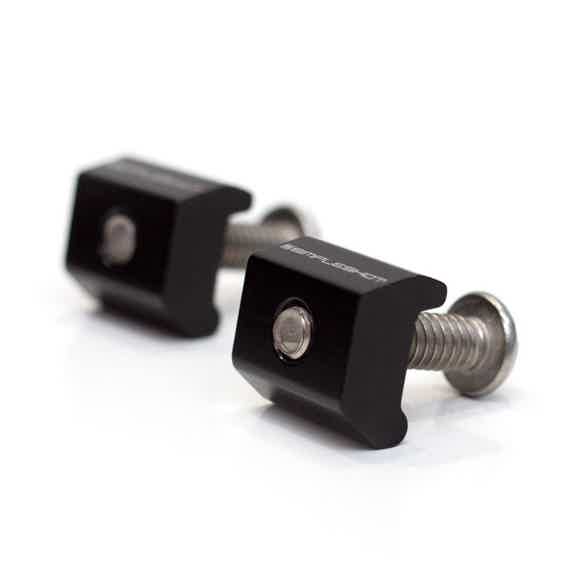
FlipClip X for Scout LT are interchangeable.
The logos goes toward the band. But there's no left or right component for LT!

For TTF configuration:
The logos should be on the SIDE with the bands around the sides.

For OTT configuration:
The logos should be on the TOP with the bands over the top.
Installation Instructions for your FlipClipsX™
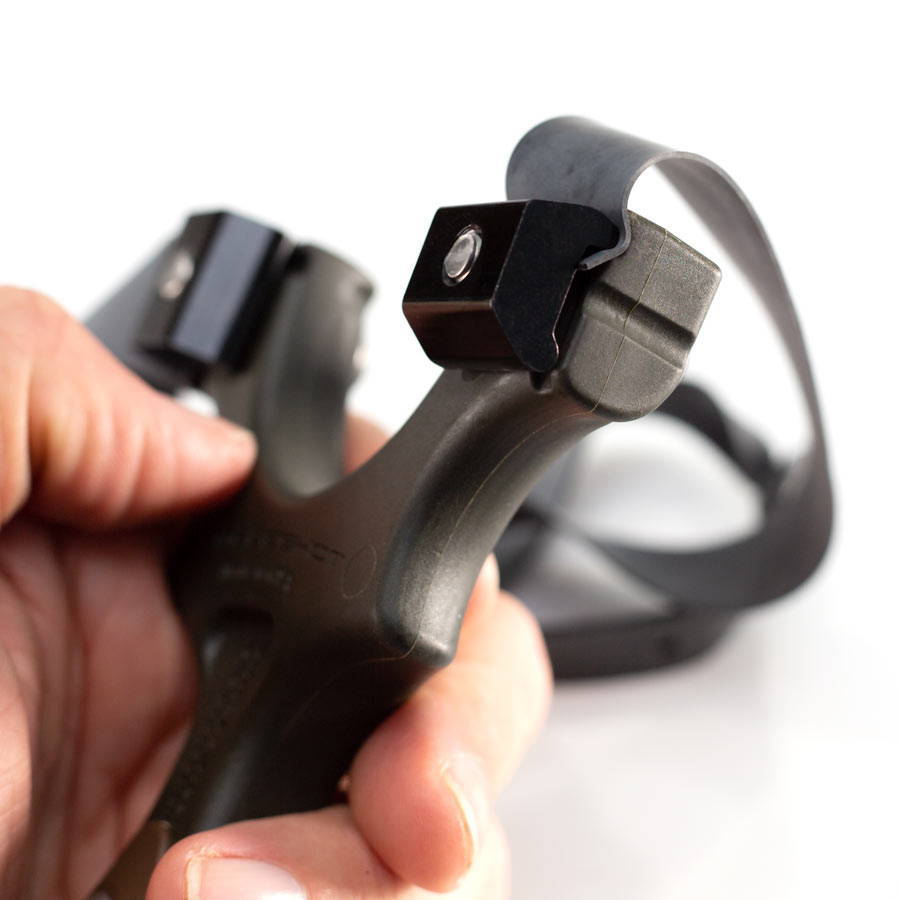
Installing bands in the Over The Top (OTT) Configuration
*The "tooth" side of the FlipClip should be UP

Installing bands in the Through the Forks (TTF) Configuration
*The "tooth" side of the FlipClip should be OUT
Step 1.
Place FlipClip with logos facing OUT for TTF and UP for OTT.
Step 2.
Place the band into the groove of the frame and under the "tooth" of the FlipClip.
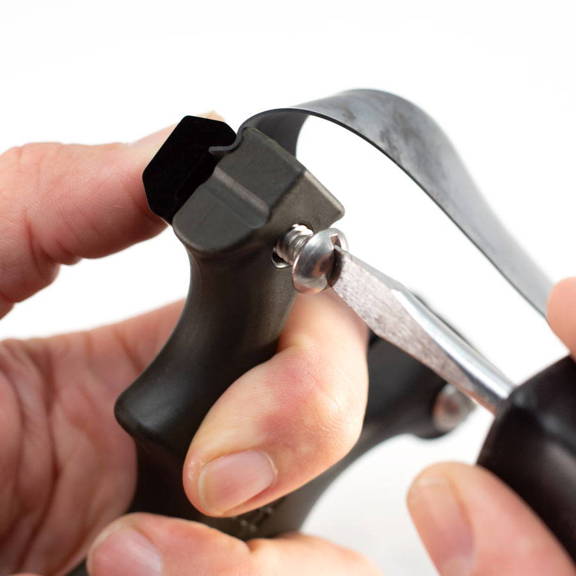
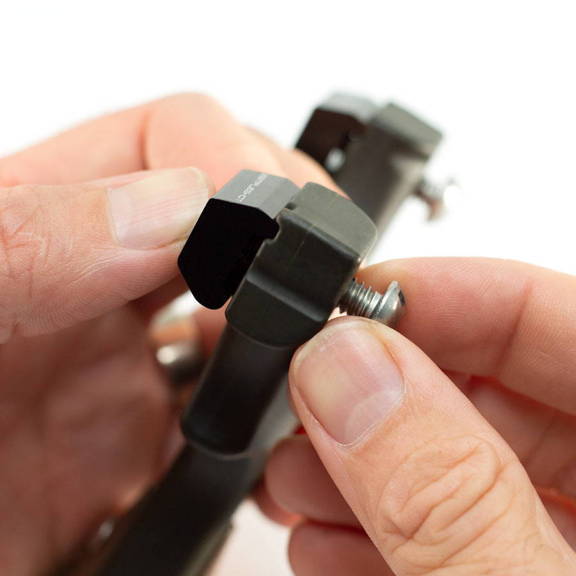
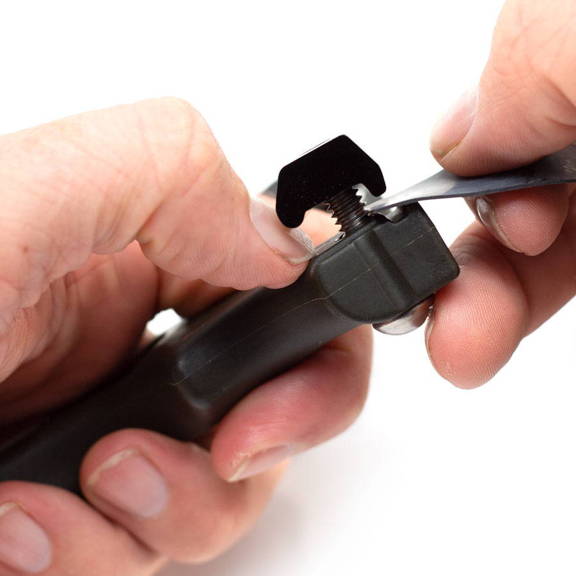
Step 3A.
Tighten the fastener until hand tight. (Shown OTT tightened with screwdriver).

Step 3B.
Same for TTF. Here it's shown using a large washer. Use a coin or the back of your knife as well.
In step 3A & 3B, No need to tighten very hard. Be careful to not damage the band material as tighten your FlipClips.
Important Scout LT Instructions

The screw heads must go on the shooter side, NOT the target side! The Clips will be on the target side with the bands wrapping around the frame.

Check your bands before every use. Give them a good stretch BEFORE you bring the slingshot up into shooting posture.