


FlipClip™ & FlipClipX™
for Scout XT and Hammer XT Slingshots
Owner's Manual
This manual covers installation and banding with both the Original FlipClip™ and FlipClip X™
Choose your version below to jump to the corresponding FlipClip manual.
FlipClipX™
FlipClip™
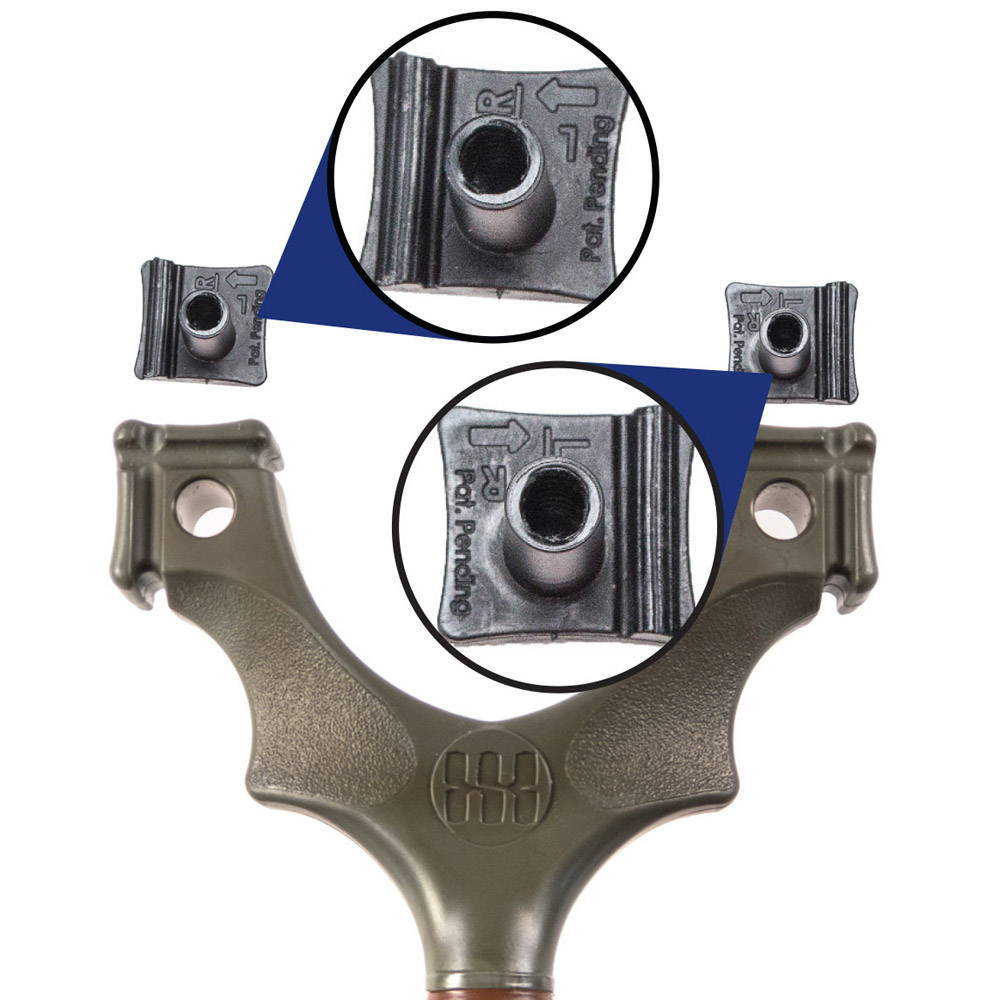
Get to know the NEW FlipClipsX™
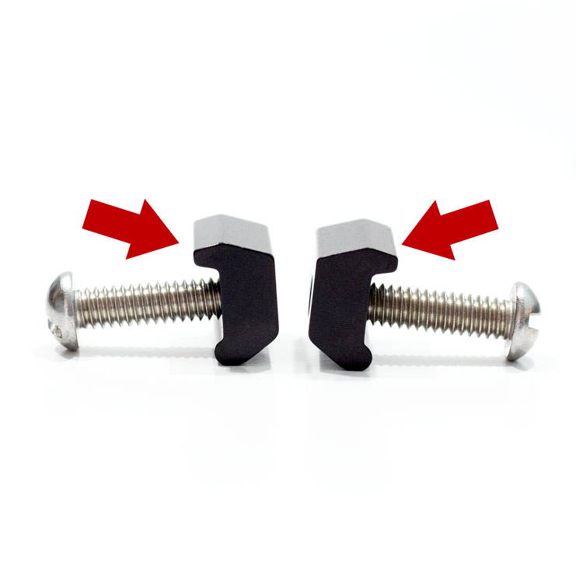
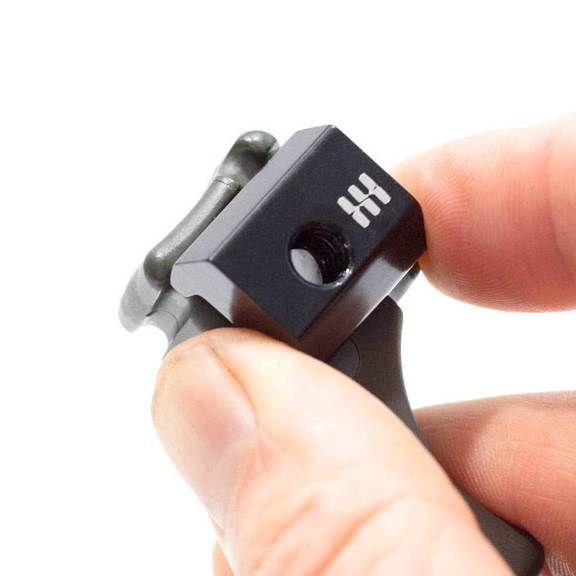
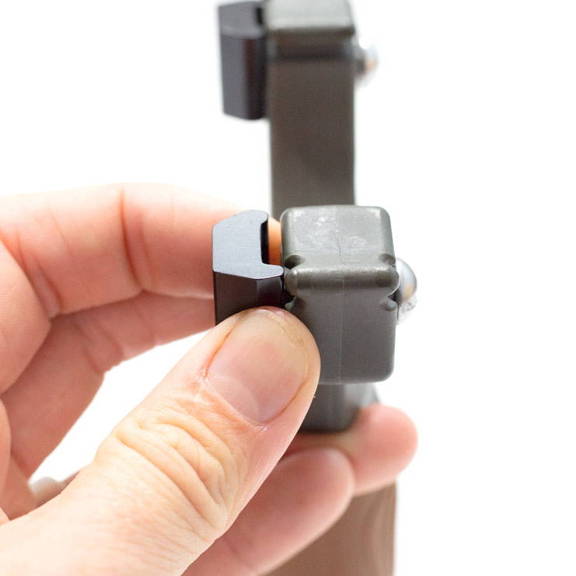
Every FlipClip has a "tooth."
This upper side of the clip is slightly larger and less round. Only use this side to grip the band.
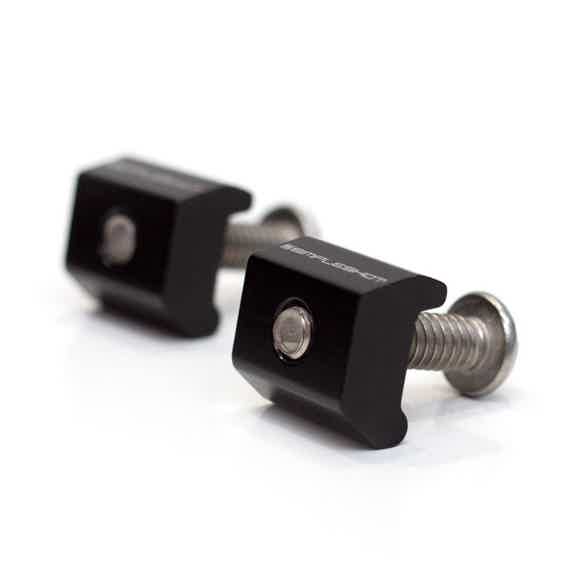
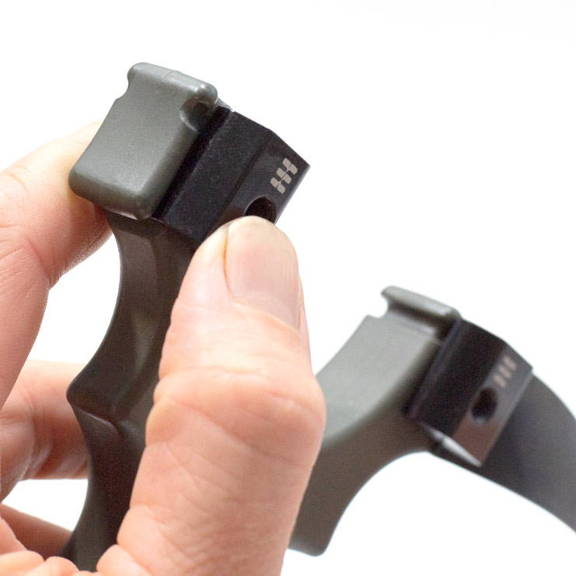
Every FlipClip pair has a left and right component.
The logos engraved on each clip will show you which is which!
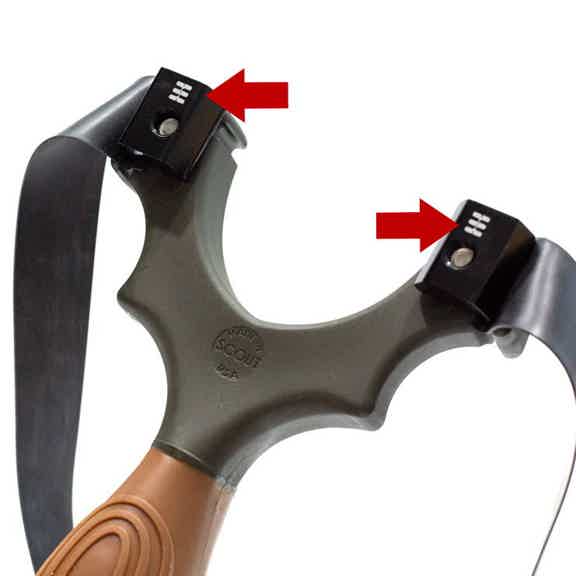
For TTF configuration:
The logos should be on the TOP with the bands around the sides.
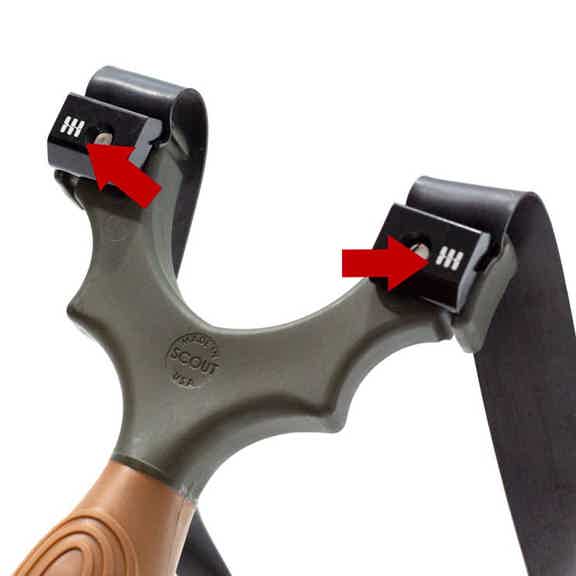
For OTT configuration:
The logos should be on the OUTSIDE with the bands over the top.
Install Bands With Your FlipClipsX™
OTT (Over The Top)
Step 1.
Place FlipClip with logos facing OUT and "tooth" edge in the frame groove.
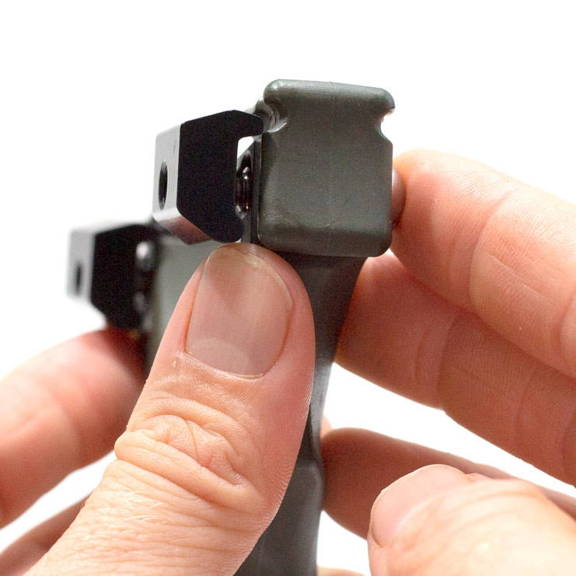
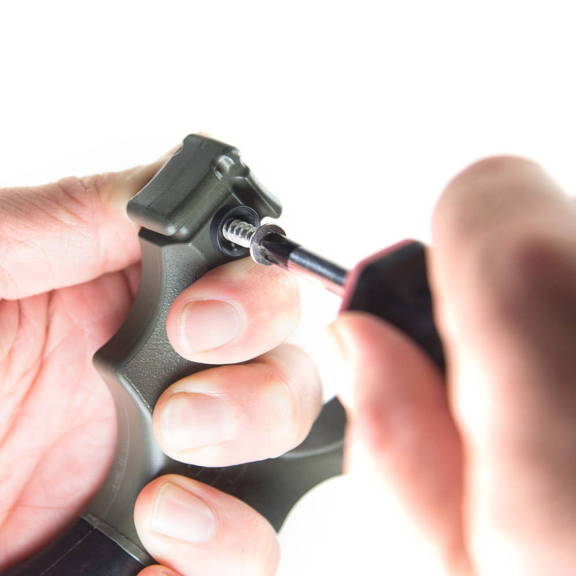
Step 2.
Thread the fastener JUST until it catches.
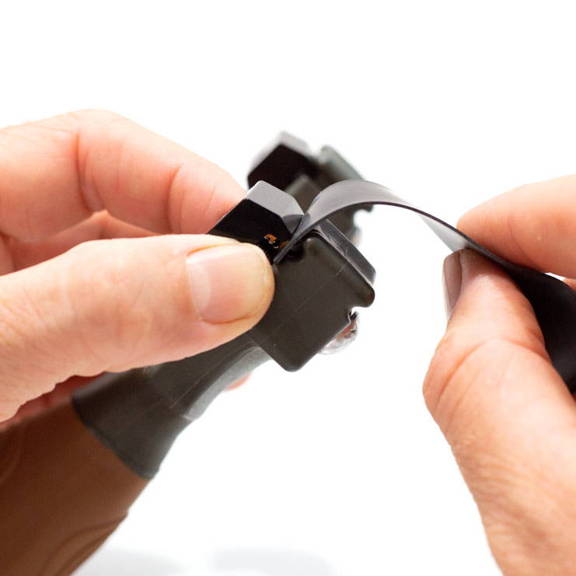
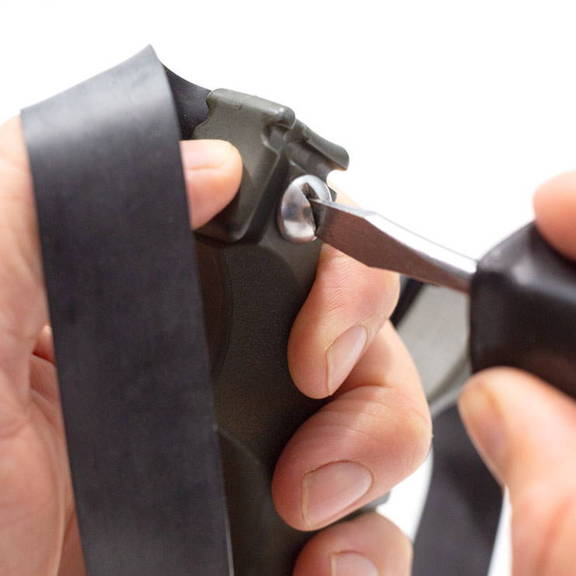
Step 3.
Place the band into the groove of the frame and under the "tooth" of the FlipClip.
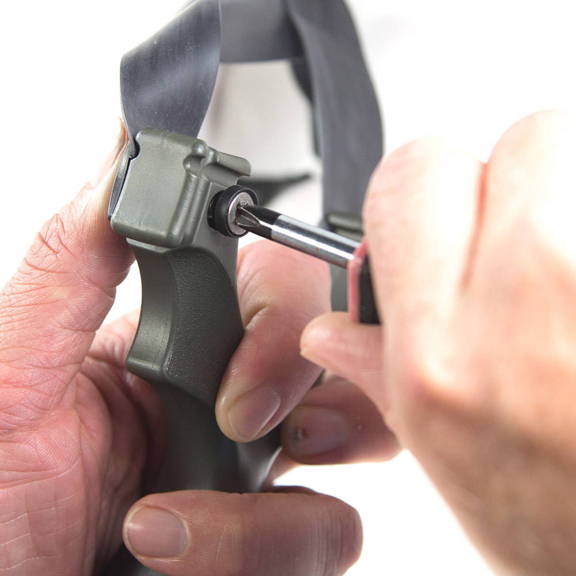
Step 4.
Tighten down the fastener. Do NOT over-tighten. The FlipClip is very strong and will hold when just hand tight.
TTF (Through The Forks)
Step 1.
Place FlipClip with logos facing UP and "tooth" edge in the frame groove.
Step 2.
Thread the fastener JUST until it catches.
Step 3.
Place the band into the groove of the frame and under the "tooth" of the FlipClip.
Step 4.
Tighten down the fastener. Do NOT over-tighten. The FlipClip is very strong and will hold when just hand tight.
In step 4, Do NOT over-tighten. Be careful to not damage the band material as tighten your FlipClips.
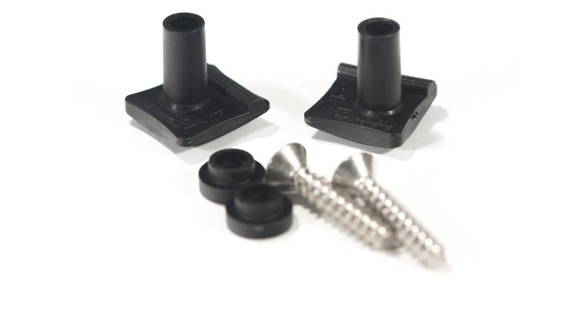
Installation Instructions for the Original FlipClip™

Step 1.
Choose your preferred band configuration/orientation (OTT or TTF) and line up your FlipClips™ accordingly.
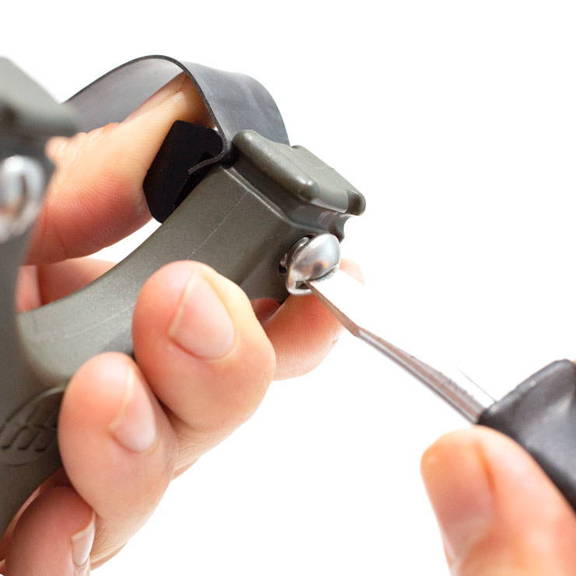
Step 2.
Carefully fasten the FlipClip™ to your frame. Take care to ensure the screw is installed straight into the hole to avoid cross threading and keep it loose for now to leave room to insert your bands.

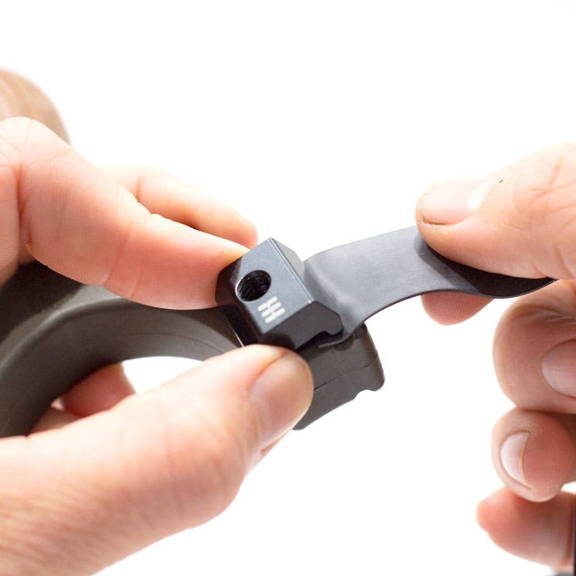
Step 3.
Place your band all the way into the FlipClip™ and press/pinch the FlipClip™ firmly to hold the band in place.
Step 4.
Tighten down the fastener. Do NOT over-tighten. The FlipClip is very strong and will hold when just hand tight.
Installing bands in the Over The Top (OTT) configuration.
- The arrows on the FlipClip should be facing UP.
- The post (designed slightly off center) should be slightly in toward the fork gap (as shown), not toward the outside.
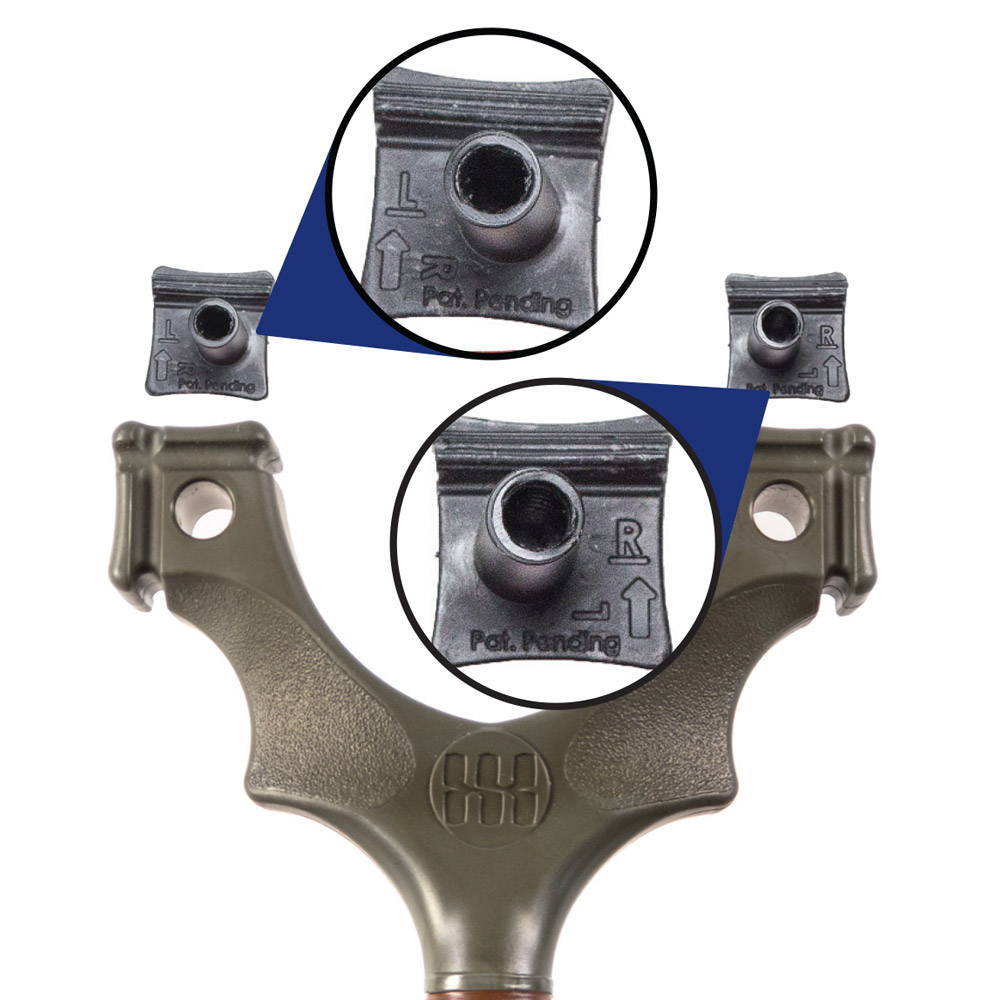
Installing bands in the Through the Forks (TTF) configuration.
- The arrows on the FlipClip should be facing OUT.
- The post (designed slightly off center) should be slightly down toward the handle (as shown), not up.